The journey from raw clay to the finished piece you hold in your hands
I would like to take you through the journey from raw clay to the finished piece you hold in your hands.
There’s something special about shaping a mug with just my hands. No wheel, no molds - just clay, time, and patience.
Each mug in my studio goes through a slow, intentional process, making every piece one of a kind 🤎
Here it is, step by step.
Step 1: Preparing the clay
Everything starts with the simple piece of clay. I wedge it carefully, kneading out air bubbles and making sure it’s smooth and ready to shape. Every mug has the same amount of clay to ensure a similar size, so I weigh each piece of clay and make balls before shaping.
Step 2: Handbuilding the form
Unlike wheel-thrown pottery, I build each mug by hand using the pinching technique. Starting with a ball of clay, I press my thumb into the center and gently pinch outward, slowly forming the walls of the mug. This method creates an organic, natural shape and allows for a strong, tactile connection to the piece.


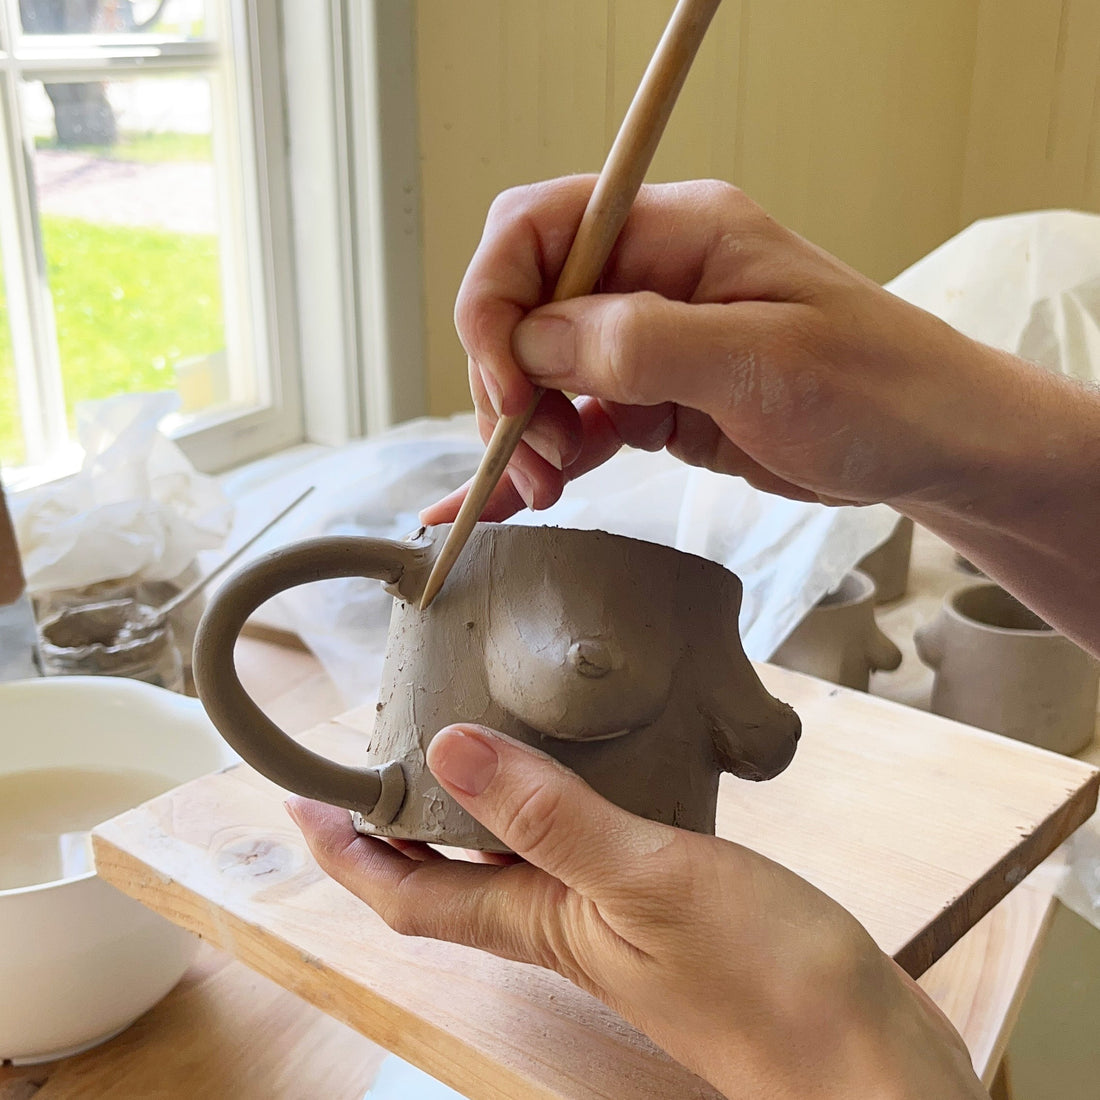
Step 3: Attaching the handle & breasts
When I've shaped the mugs, I leave them to rest for an hour or two to become a bit firmer. Then, it's time to attach the other clay pieces. The handle must be securely attached to ensure durability and a comfortable grip. Breasts are carefully shaped by hand and attached while the clay is firm but still moist. I carefully smooth the seams to create a seamless connection, ensuring both beauty and durability.


Step 4: Drying & Refining
The mug then rests and dries for 5 days. Before it's too dry I refine the surface, smoothing rough edges and making sure the shape is just right. Drying slowly is crucial; rushing can cause cracks.
Step 5: First Firing (Bisque)
Once completely dry, the mug goes into the kiln for the first time, fired at a low temperature. Loading the kiln sometimes takes me around one to two hours. If you're interested in seeing how I do it, check out the video at this link on Instagram! 😊
Bisque firing makes the mug strong enough to handle but still porous enough to absorb glaze. This firing transforms the clay from raw earth to ceramic. For bisque firing, the mugs stay in the kiln for 22–36 hours, 10–12 hours for firing and another 12–24 hours for cooling.
Fun fact: See my biggest fear here :) (IG link)

Step 6: Glazing + Glaze firing
Glazing is where personality comes in. I dip, brush, or pour glaze over each piece, sometimes layering different colors for depth. The glaze needs to be applied evenly but with character - too thick, and it will run; too thin, and it won’t fully cover. Every glaze reacts differently in the kiln, so there’s always a bit of unpredictability.
The mug is then fired again, this time at a higher temperature, where the glaze melts and fuses to the clay. This firing is where the magic happens - colors deepen, textures come to life, and the piece is finally complete. I use stoneware clay and fire my pieces at 1240°C, which takes about 35 hours, 11 hours for firing + 24 hours for cooling.

Step 7: Unloading, taking pictures, shop update, and packing your mug
Opening the kiln after a glaze firing is always a mix of excitement and suspense. Every mug tells its own story.
Once cooled, I check each piece, making sure it’s smooth and ready. Then, I take a photo of each mug because I want you to choose the exact one you see in the picture ☺️ It is then time for updating the shop, and when you finally choose your mug, I carefully pack it for you.
Each mug is double-boxed and packed like a present because it deserves special treatment. Take a look at this video of me decorating the boxes (IG link).
____
The whole process takes about two to three weeks, and that’s what makes it special. Handbuilding takes time, and no two mugs are ever the same. Each one carries the marks of the process, and a little piece of me always stays with it 🤎

Thank you for being part of my journey and for letting my work be part of your home and I really hope you enjoyed reading about how your mug is made.
If you have questions about the process just hit reply and ask! 🤎
If you'd like to explore more of my creations, feel free to visit my shop.
|